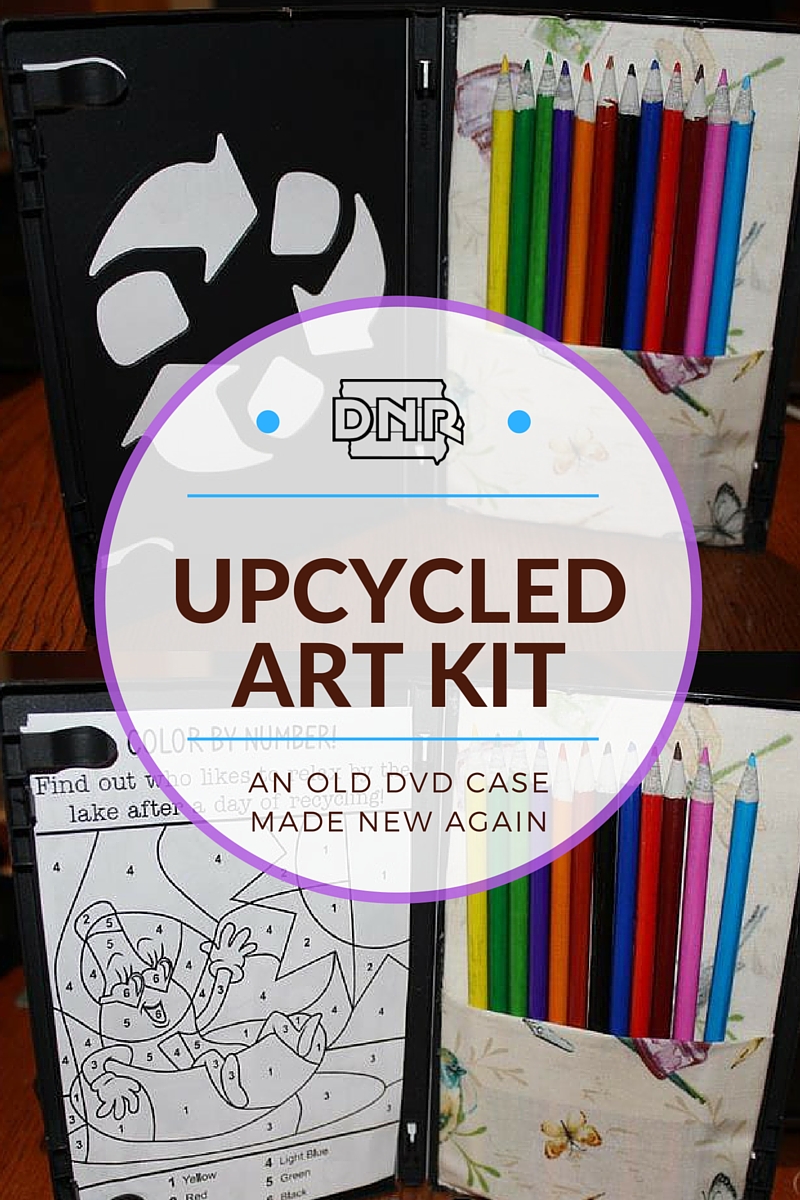
 Everyone seems to have that one DVD case still sitting on the shelf that lost its movie long, long ago, or a scratched up CD that's doing no good taking up real estate in your collection.
Skip the trash can and give those items new life with these simple upcycling projects with tutorials below from expert crafter and upcycler Shelene Codner!
Turn a tired old DVD case into a travel-friendly art kit, transform a vinyl banner into a useful tote bag or upgrade a scratched CD into the blingiest turtle on the block.
For more ideas, join us at Reusapalooza at the Iowa DNR building at the Iowa State Fair, or check out our Upcycling board on Pinterest.
Travel Art Kit
Materials
- Recycled DVD case
- Recycled cardboard/chipboard
- Scissors and/or rotary cutter
- Fabric adhesive and/or tacky glue and/or hot glue and or glue stick
- Colored pencils or crayons
- Scrap paper
Trace the DVD Case on to a piece of cardboard/chipboard.
Using your scissors, cut the cardboard ¼” on the inside of the traced line.
Using your rotary cutter or scissors, cut a scrap of fabric 11 inches by 11 inches.
Fold a half-inch seam at the bottom of your fabric. Using a glue stick or fabric adhesive, glue it into place.
Starting again from the bottom where your seam is now located, fold the fabric up 4 inches to form a “pocket.”
Turn your fabric over with the pocket intact and place the cardboard directly in the center of your fabric.
Using your tacky glue or glue stick, secure the short sides of the fabric to the cardboard.
 Follow up by using your tacky glue or glue stick to then secure the large sides of the fabric to the cardboard.
Turn the fabric and cardboard over, and it should form a pocket on the front side. If needed, use additional glue on the backside to ensure your pocket is secure.
Using your hot glue gun or tacky glue, secure the backside of the fabric/cardboard to the inside of the DVD case.
Create a cover for your art kit by cutting a piece of scrap paper 11 inches by 7.25 inches. Go from a blank slate and create a cover freehand or provide kids a premade coloring sheet to use as a cover. You may also use fabric for the cover if desired.
Slip the cover sheet into the outside sleeve of the DVD case.
Fill the pocket of your art kit with pencils, crayons, markers or other utensils.
Using the backside of scrap paper, print or place preprinted 5-inch by 7-inch activity sheets, coloring sheets, blank sheets of paper, stickers, etc. under the tab section of the DVD case.
Close the case and your traveling art kit is ready for the next camping trip, nature hike or car ride!
CD Turtle
Destroy evidence of that embarrassing boy band album and let your kids have a grand time crafting, all at the same time.
Materials
- Recycled CD
- Felt
- Wiggly Eyes
- Scissors
- Glue
- Buttons/Jewels other recycled embellishments
Cut out the shapes provided on the Turtle Template. Lay these on felt.
Trace the shapes onto the felt and cut them out.
Glue the shapes onto the recycled CD, making sure the head is at the top and the tail is at the bottom.
Glue two feet to each side.
Glue two wiggly eyes to the head.
If desired, embellish with recycled buttons, custom jewelry or other recycled items.
 Banner Bag
Make your next trip to the beach, soccer field or campground easier with this handy tote bag built from an old vinyl banner.
Don't have a banner sitting in your garage? Ask a local business their plans for banners once an event or promotion is over.
Materials
- Upcycled vinyl banner
- Decorative duct tape
- Scissors and/or rotary cutter
Using your scissors or rotary cutter, cut two 12-inch by 12-inch squares from the upcycled vinyl banner.
Place the two squares together, right side out, and secure the bottom of the bag with decorative duct tape. Make sure to leave half of the tape hanging over the edge to secure the other side.
Turn the bag over and secure the other side.
Repeat steps 2 and 3 for the remaining two sides of the bag. Leave the top open.
Trace the handle template onto the top of your bag, about in the center, and about 1 inch from the opening.
Cut out the handle using your scissors and fill with your favorite things.